Some time ago, I co-wrote and VFX Supervised a short sci-fi film. The idea was to make a short-for-feature pitch, something that sold a big concept in a small package. It would feature mythical creatures, robotic drones and other CG elements. After many months of development, we were given the green-light.
Located in Topanga Canyon, Malibu, it would be all night shoots. With absolutely zero ambient light from the dark night sky, the stage lights would drastically limit the light available for post production tasks.
The biggest challenge to solve was to ensure that the many Steadicam shots were trackable in 3D. Without that, there’d be no way to integrate the CG elements with the plate photography. Up to that point, I'd done a lot of tracking and match-moving in fair to good light, but never in such low light. Very quickly, I realised I'd need to use markers that were themselves light sources.
There were other restrictions too, Topanga is a protected habitat and I was forbidden from sticking or attaching anything to anything. No trees or plants, not even rocks! Good tracking happens when you have features to track in all three axes, so on flat ground and wider shots, I needed a supplementary approach.
After some experimentation with fluorescent materials and with the help of some experienced VFX artists, I adapted off-the shelf LED tea-lights to my own waterproof, low-spill, LED markers. These would take care of anything on the ground.
The gaffer tape on the side, prevented spill through the clear-plastic housing. Animation tape over the bulb provide about stop of light reduction and could be dimmed further. If needed. Over 24 hours continuous use, the battery drain would cause only half a stop of light loss.
I had also made two dozen 'large-diffusers' for the markers, in case there was a last minute decision to shoot wide and far. They were just ping-pong balls, with a hole punched into them for the marker. We never used them, but it took some explaining to get them through customs as some ping pong balls can combust!
In order to get things tracked high into the tree canopy, I used small keyring lasers. They were tricky to aim but did the job. We were filming on Red EPIC and luckily, I had access to a RED Scarlet. Since they have the same sensor, I could test the behaviour of the LEDs & Lasers ahead of the shoot. Everything seemed to work well.
Before the shoot however,I was anxious. If this didn't work, if the tracking was broken, the film would be dead before it was finished. In the final month of prep, I was also in the process of moving from Edinburgh to London! With time running short, I went to my local park and shot a number of tests in the dark. Aside from some strange looks from dog-walkers, the process seemed to work as planned.
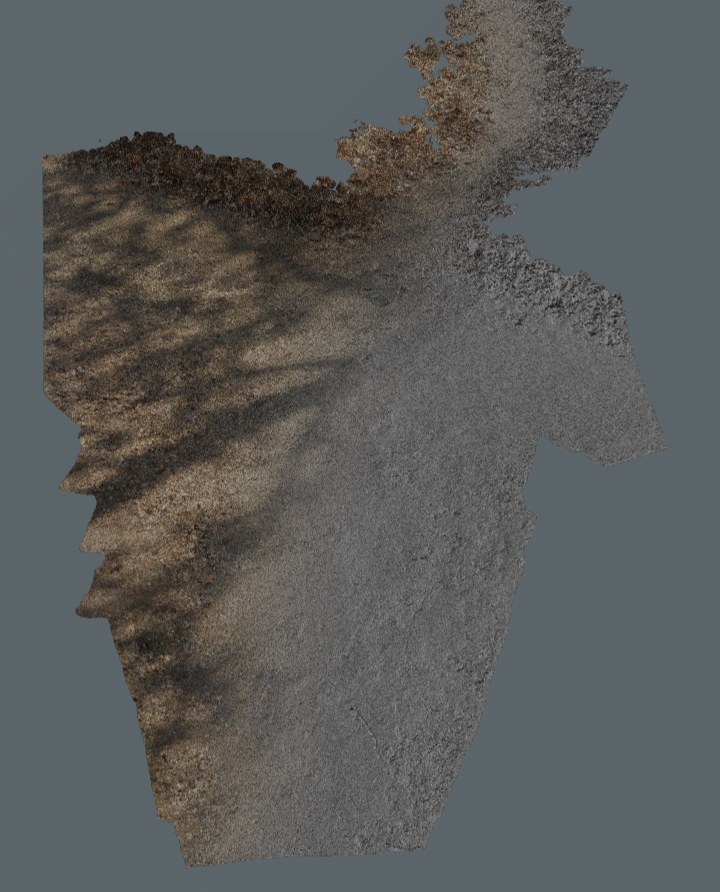
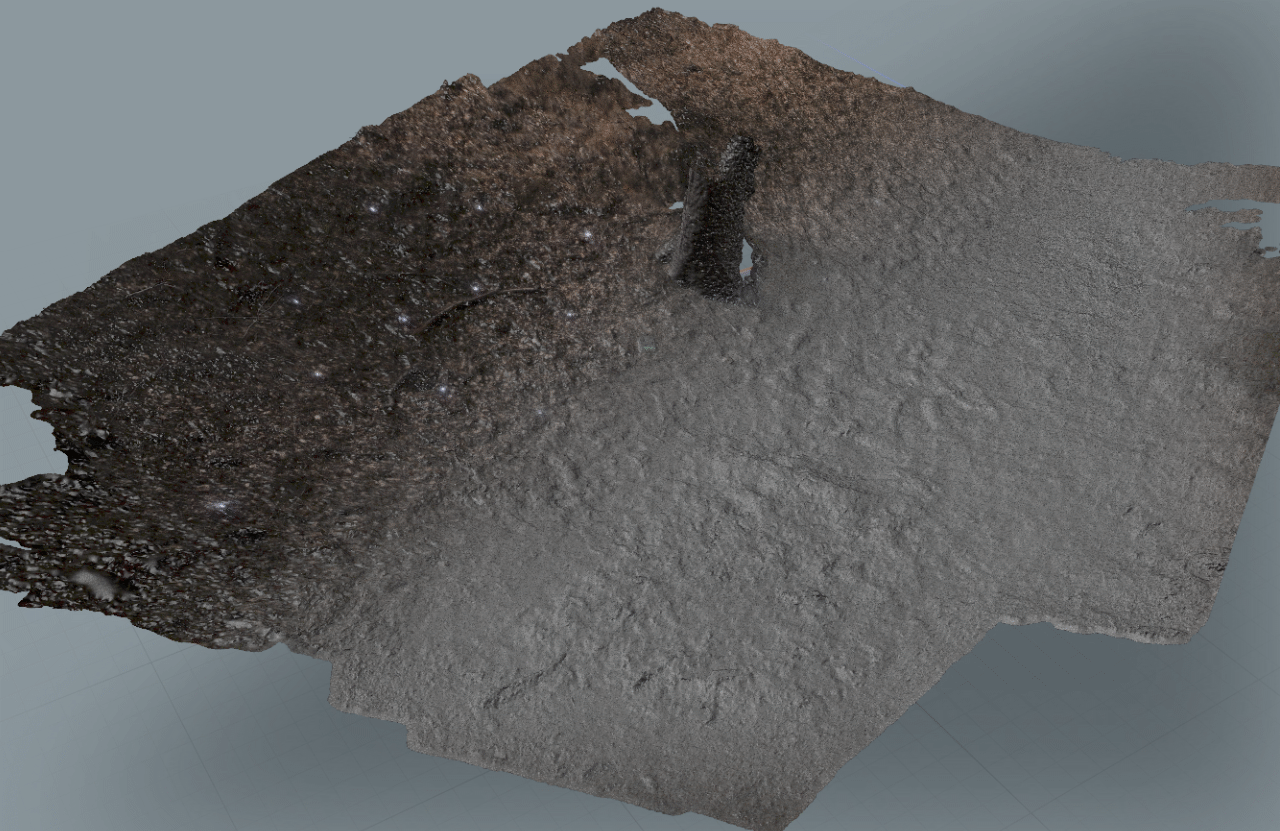
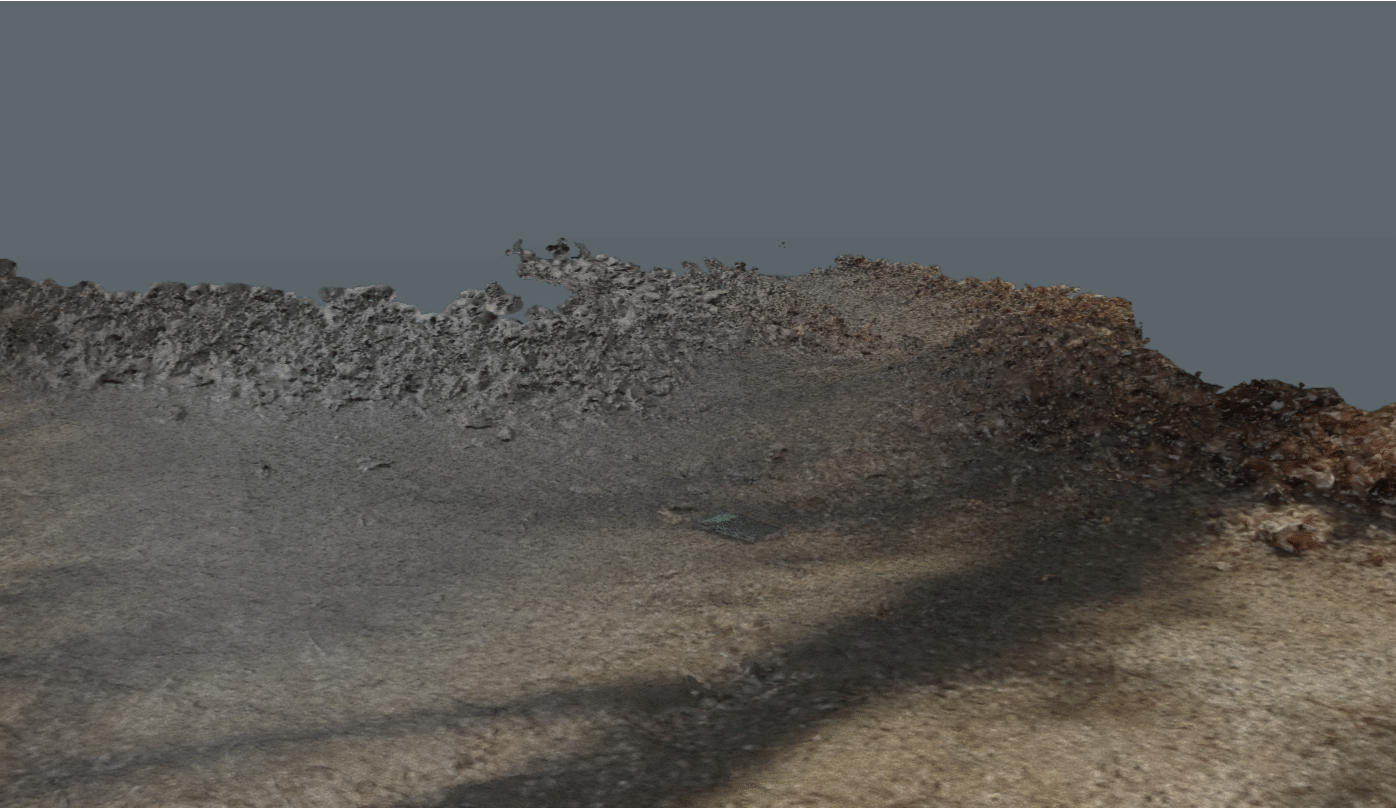
By necessity, all of my on-set VFX supervision used low-cost methods to achieve a high-quality result. The CG to environment interactions would be achieved via photogrammetry: using a DSLR and lots of images. Processed with Agisoft Photoscan, I’d also use this brilliant and very low-cost software to capture one of the actor’s in their final, prone position following an encounter with one of the creatures.
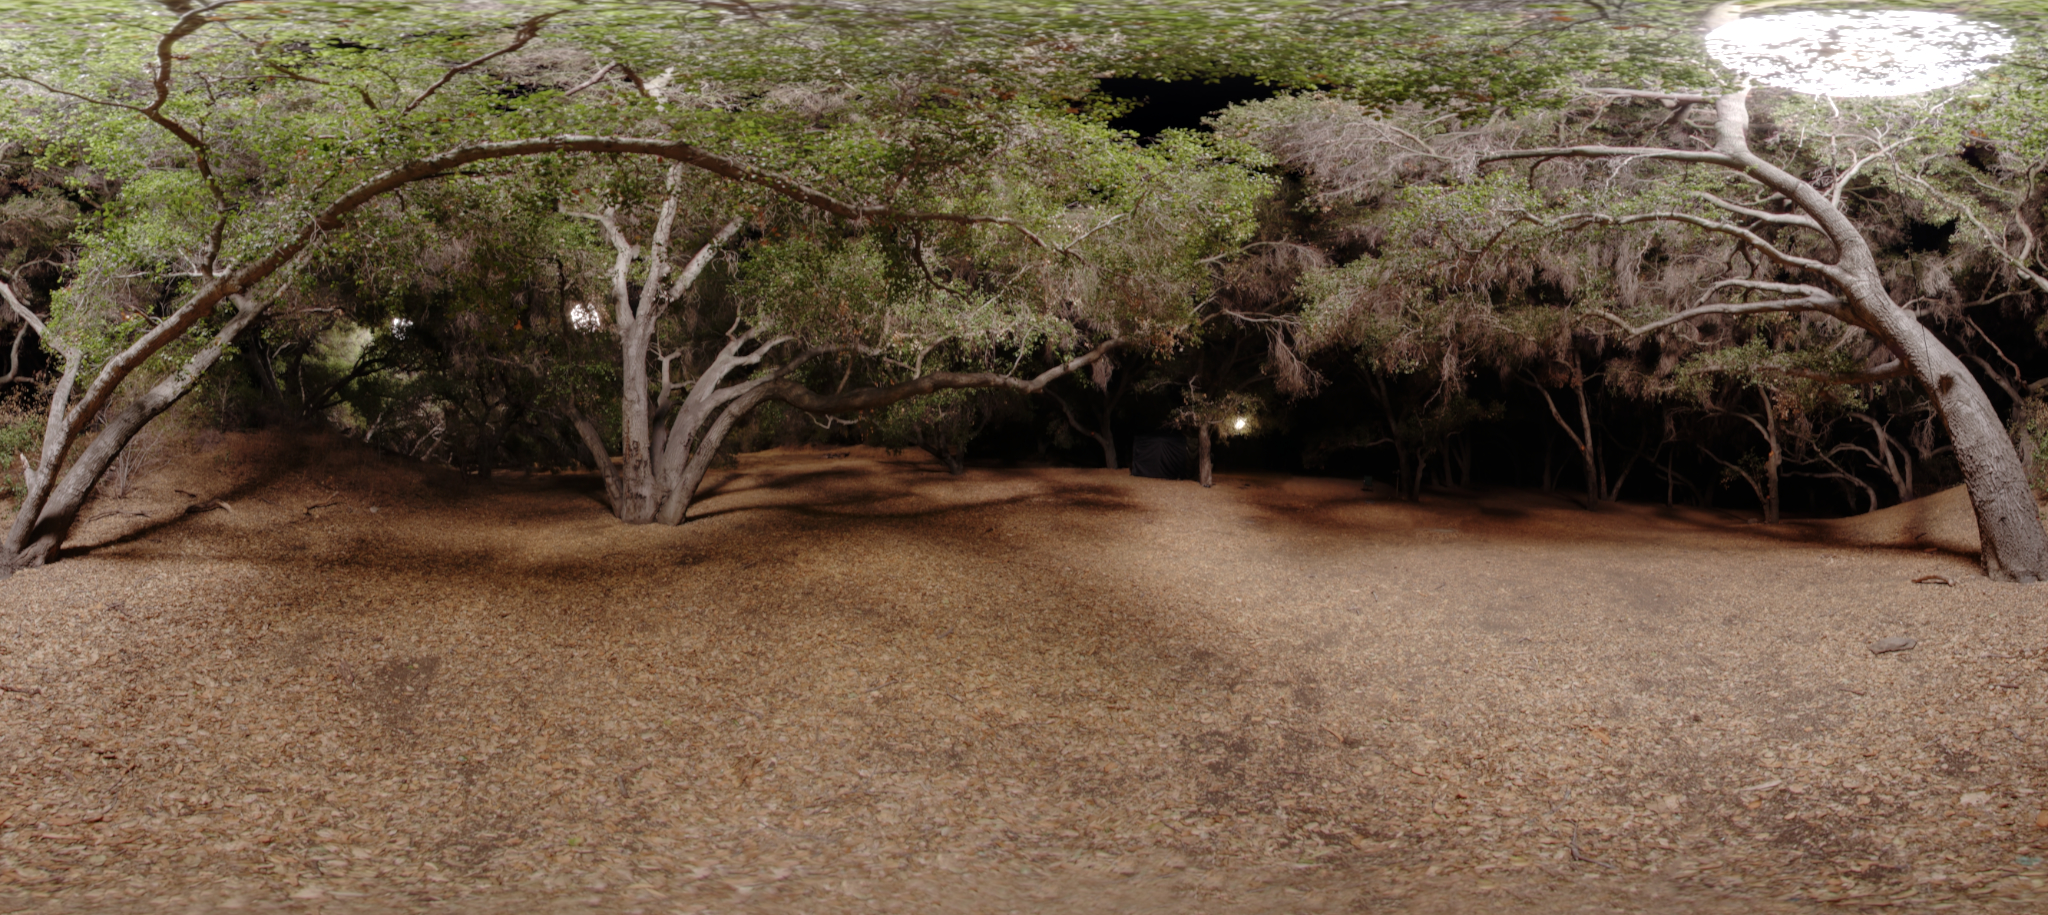
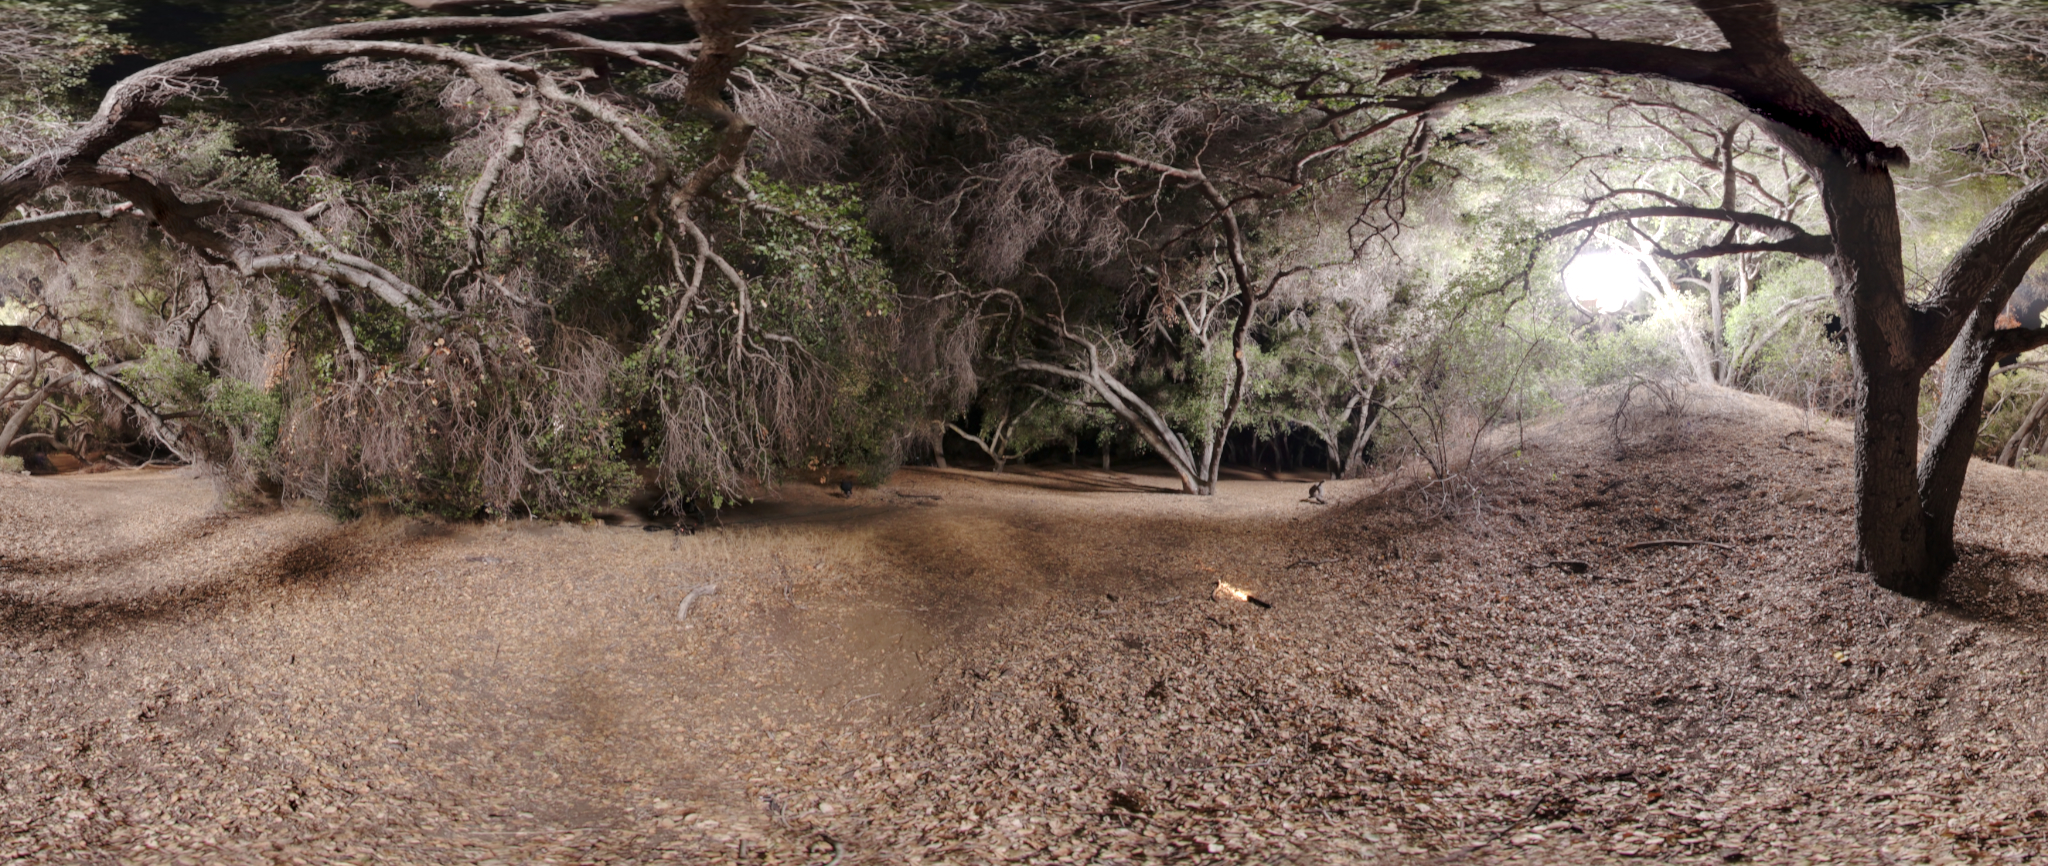
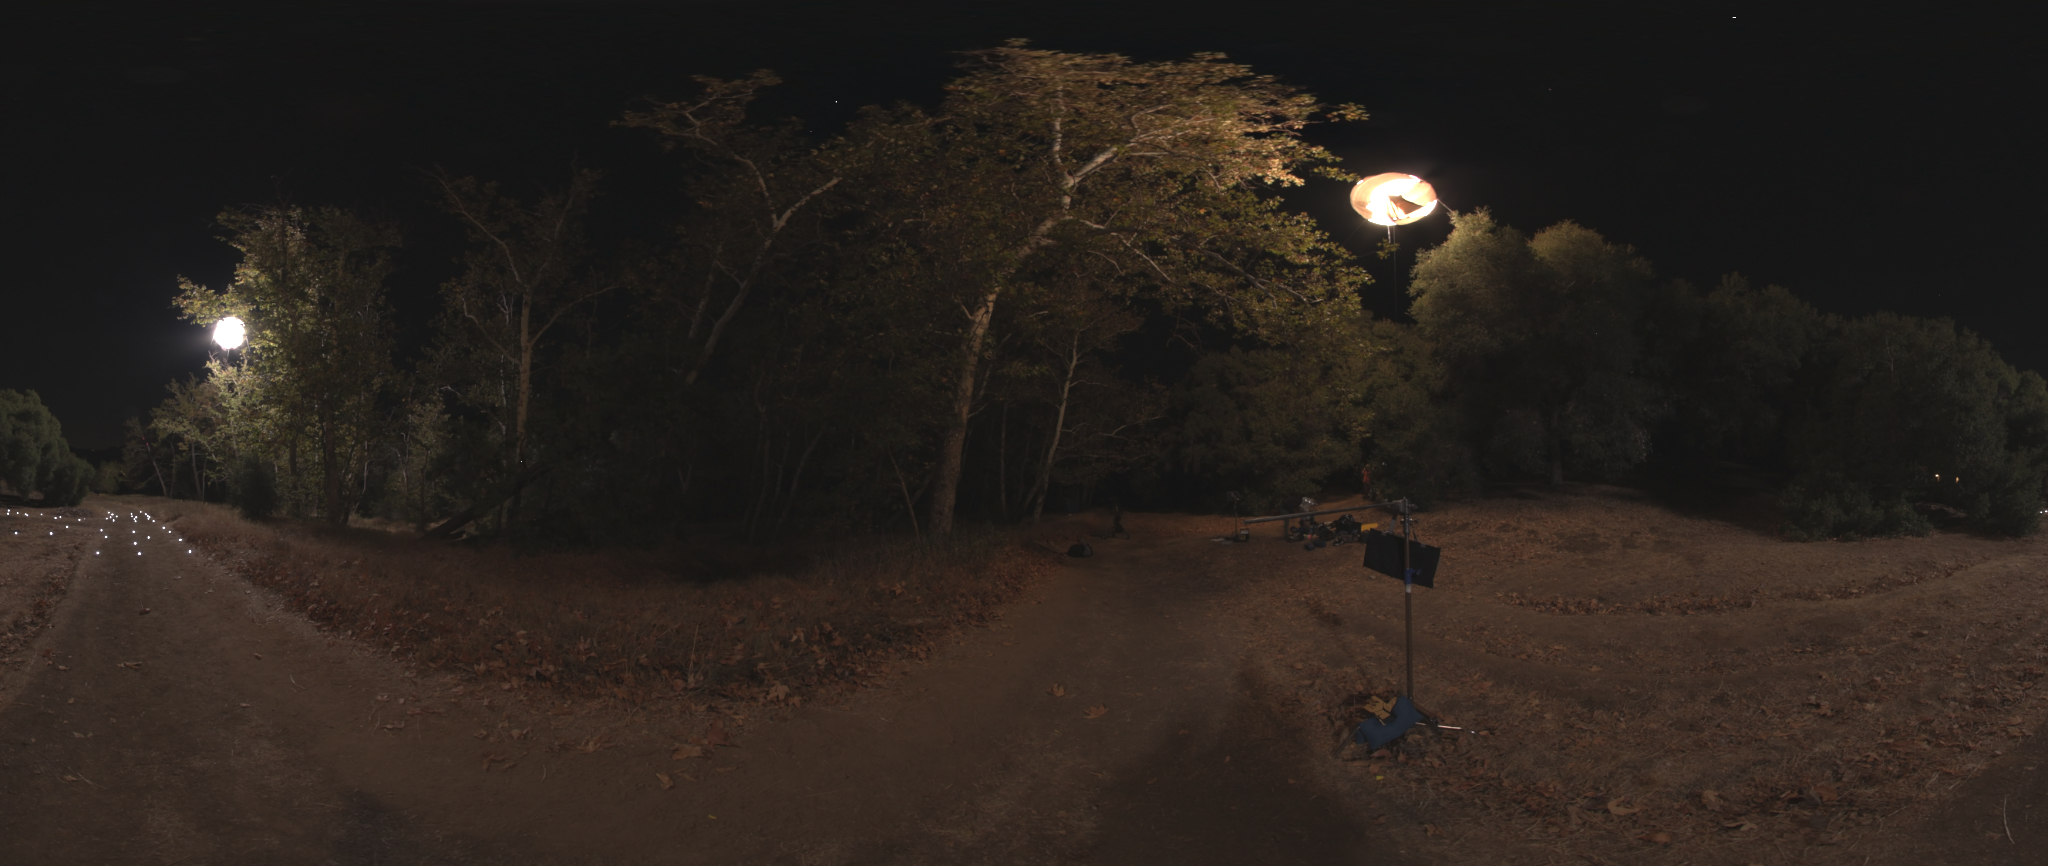
I used the same camera rig to capture HDRI light-probes of each VFX shot. I had a Nodal Ninja manual head for the capture of these images. Everything worked smoothly and with the help of an assistant standing by with the tripod and lens, I could capture around six angles at 11 brackets in under five minutes. Again, it was crucial to keep this time down, because the entire crew had to be cleared from the set while this was being done.
Some of the cropped, tone-mapped HDR probes before 'cleaning' of all rigging (see if you spot a crew member in one of them!)
The camera-tracking software I use is Syntheyes. It’s low-cost, but also one of the best-featured apps for this task. It required a minimum of seven markers to solve a camera move. I knew that I might be able to track some of the non-marker details in the plate, but couldn't count on that. Also the Red MX gets noisy in low-light and smaller details would be lost to that. So, a crucial skill I developed early in the first few takes, either out of fear or panic, was to able to tell at a glance when there were seven or less trackers on screen, at any moment.
The pressure is always to keep moving on when the take is good, but it's for nought if the plate isn't usable for CG. The Steadicam Operator seemed to develop this skill too, because we rarely had to go again for marker counts after the first few takes.
The above image shows part of more paired-down layout. By this point I'd figured out how to set markers to avoid getting them in-line with each other. With this approach and the movement of this shot, it was one of the fasted through the pipe. The trackers performed much better than I hoped, yielding the highest accuracy tracking of any match-move I'd ever done. The fastest shots were tracked, solved, laid-out and the plate cleaned in under two hours. The average was 4-6 hours. In all but two cases, the measurements from the tracking allowed me to use the environment to solve virtual camera effortlessly.
The first problem shot occurred when the markers were moved after measuring, without my knowledge. It was an accident, but it cost a lot of time to fix and after that scene, we had to police the locked sets with vigilance. The second failed track, was so close in, that we lost most of the markers in the shot. Luckily, we figured we would be able to use the 3D scan data and recreate the camera move in 2D. This became the only all-digital shot of the film.
All of the marker paint-outs were achieved in After Effects via a combination of 2D tracking and masking. Because of the prevalence of leaves on the ground, there was a little more spill from the lights than I had expected, but not to a significant degree.
An additional task, was to capture the distortion profile of every lens used on the VFX plates, for both cameras used. This was a relatively quick and easy process, utilising Syntheyes' own printed grid template, which is free to download.
As VFX Supervisor in post, my job was to make sure that all of these elements plus HDRI probes for every setup were correct and laid out in a Maya scene for the VFX Vendor to build, rig, animate and render those elements. That's a blog post for another day.
MinimoVFX in Spain, did an amazing job of the creatures, the fur, the lighting and integration with the plates. They hired an incredible creature animator do the animation, whom I had the pleasure of working with. I produced one piece of in-camera CG, bug it's not in this teaser. It will make an appearance on my updated reel.
So here it is, the teaser for the Reserve. Warning, it contains MYTHICAL BEASTS :)
Hardware used:
Canon 7D, Tripod, Nodal Ninja R2, Sigma 7mm Lens, Canon 24-70mm lens, Promote, X-rite colour checker and a printed grid chart for lens calibration.


